You’ve heard of DJELLO, now get ready for VJELLO! Here’s how I created an audiovisual installation of interactive projection mapping onto Jello.
 |
 |
 |
[VJELLO: visual Jello]
What is Projection Mapping?
This semester I took Future Mapper, a class on projection mapping. Projection mapping is a technique used to turn objects into display surfaces for projected media content. It’s commonly used in large scale installations, such as converting a building’s architecture into a canvas. A recent famous example of this is the Stranger Things Season 4 advertising stunt, where the popular TV show projected content onto the Empire State Building to create the illusion of an interdimensional rift opening on New York’s skyline.
[Example of building-scale projection mapping]
Although my class didn’t operate at that large of a scale, we learned the same projection mapping techniques through software called MadMapper. MadMapper lets you define the shapes that you project and what content you fill those shapes with. For example, you could add some rectangles and resize them to match the walls of a room from the perspective of the projector, and then project a cool pattern onto the exact boundaries of that wall. TeamLab in Japan is pretty famous for doing this.
[Example of room-scale projection mapping]
MadMapper is very easy to use, after setting up a projector you just drag/drop and resize the shapes on your screen so that the projections line up with the physical objects that you’re mapping onto.
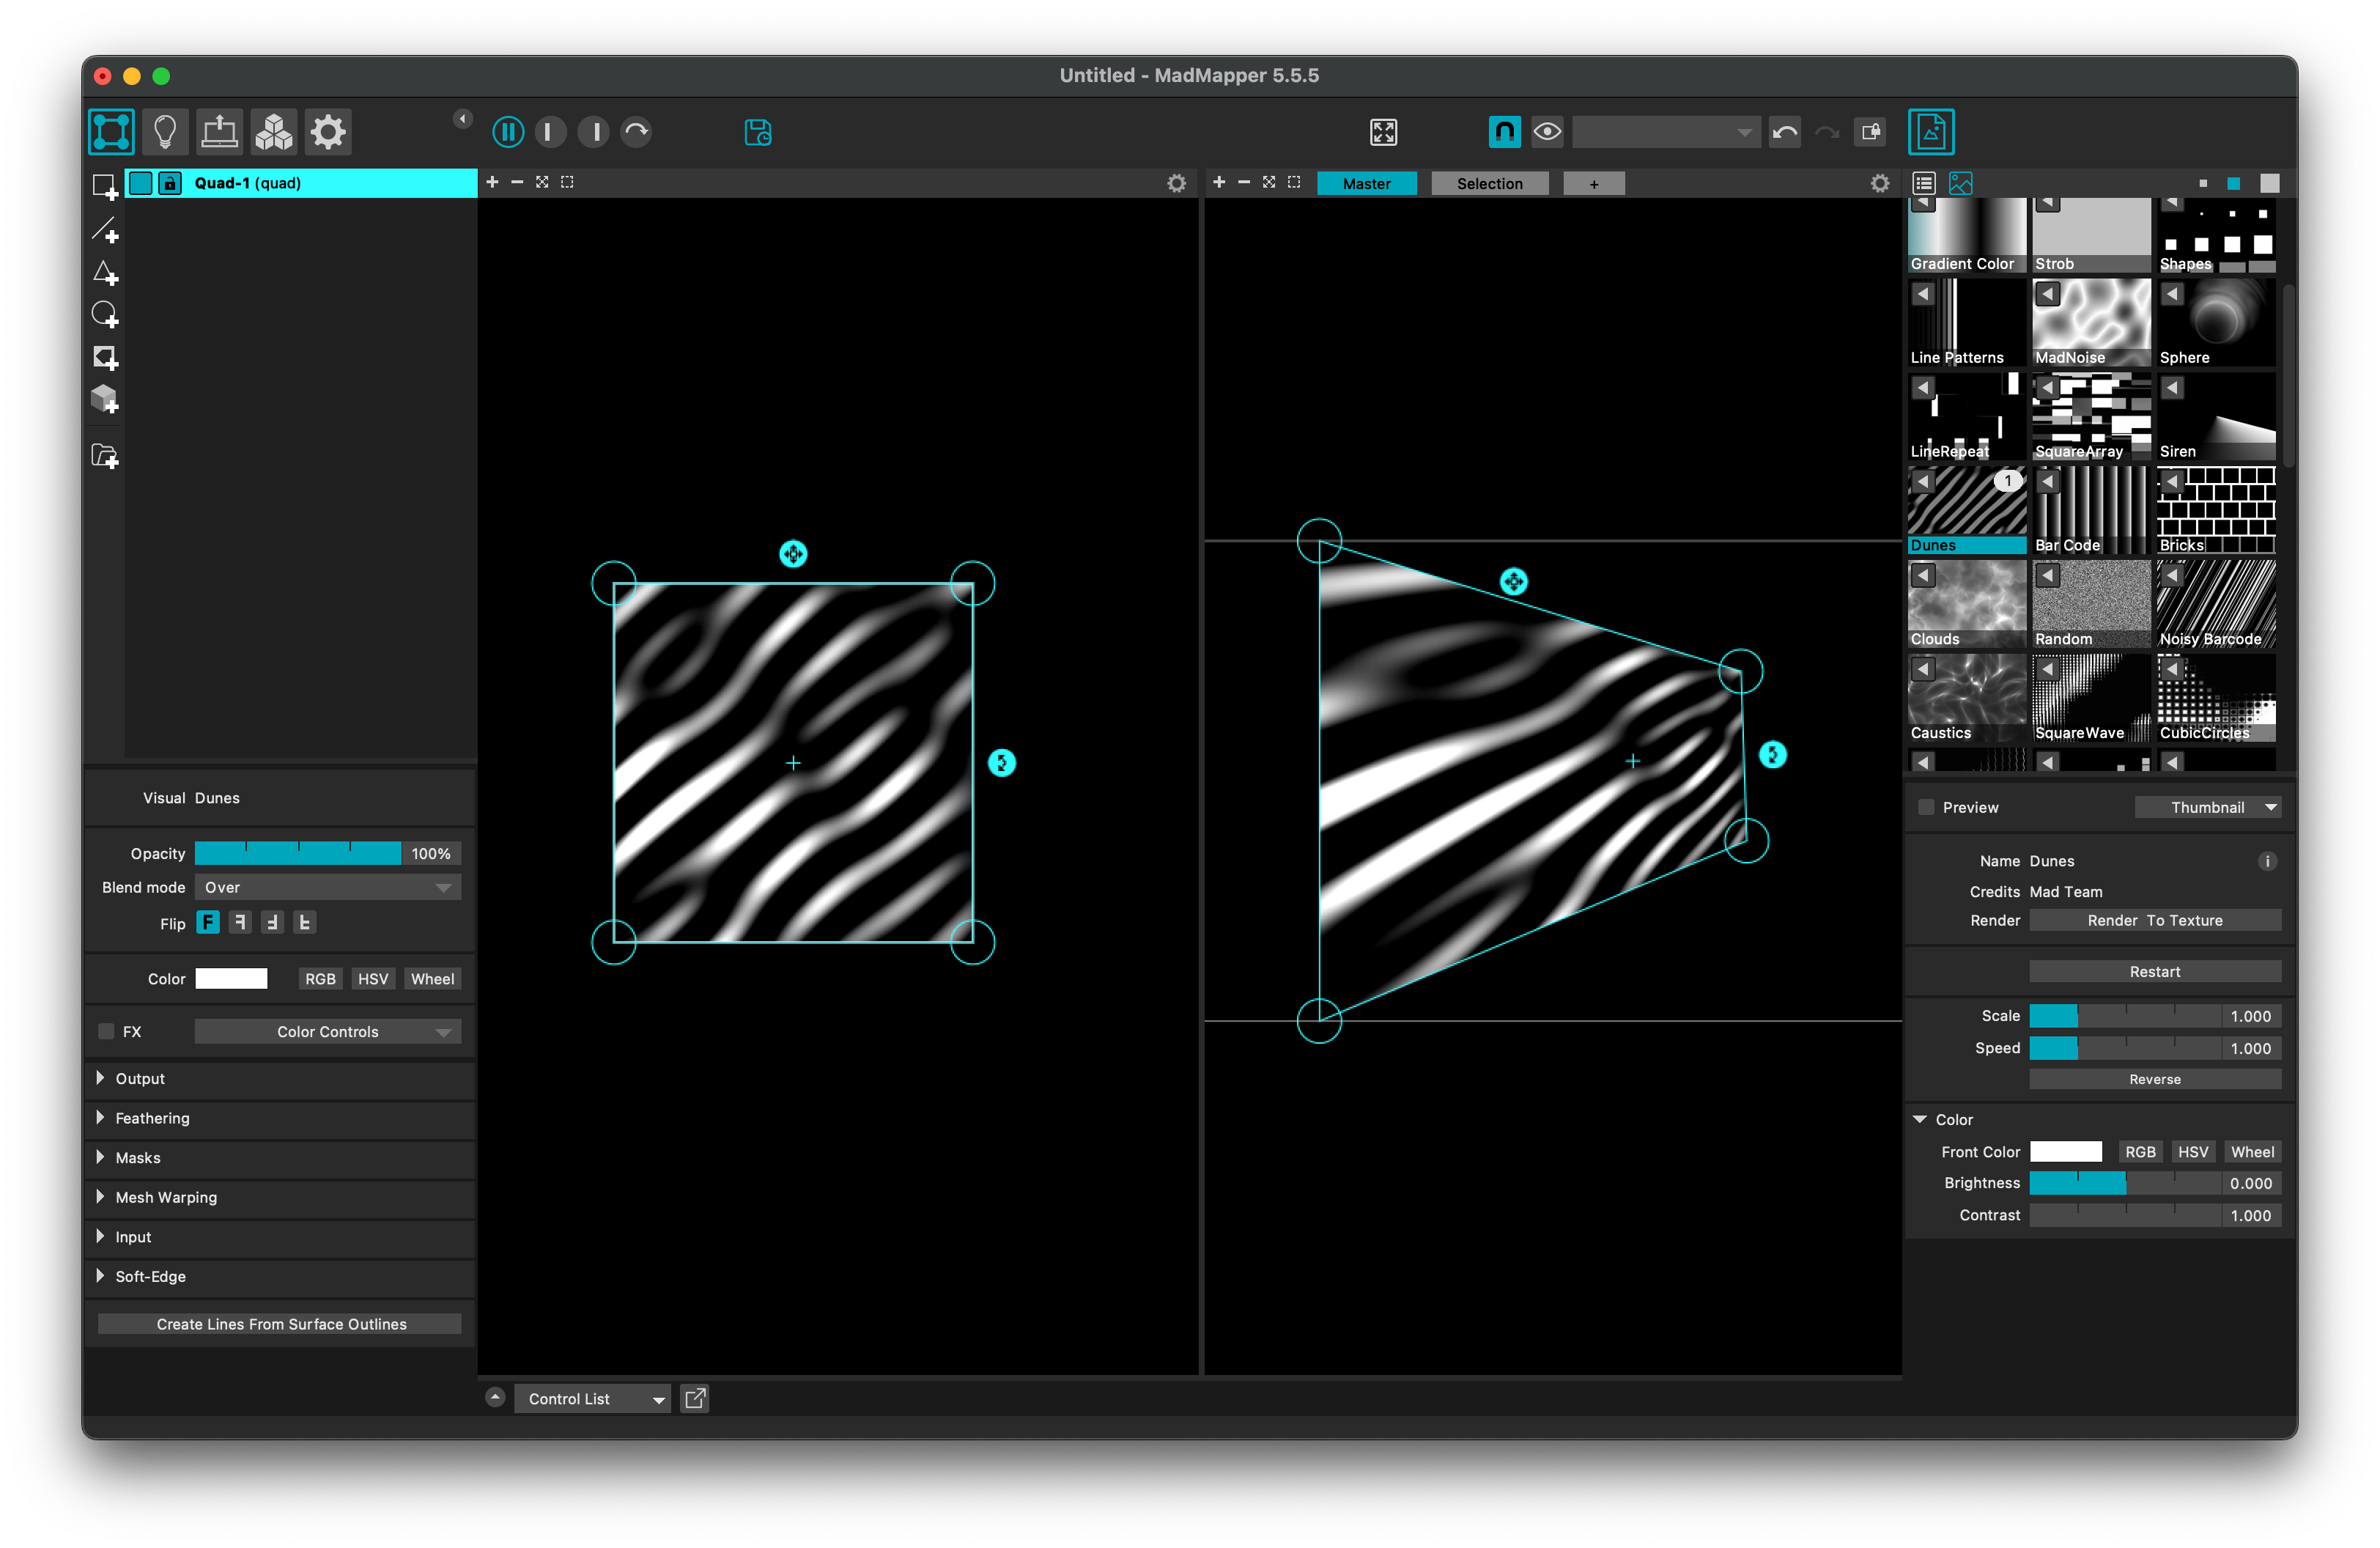 [A rectangle in MadMapper, positioned to have some perspective]
VJELLO Concept
…And there’s no reason the objects you map onto can’t be Jello! For my final project I wanted to experiment with projection mapping onto Jello for a few reasons
- Gelatin isn’t quite opaque, so the light from a projector could interact with the material in interesting ways
- While showing DJELLO in the 2023 ITP Winter Show, I received feedback that it would be nice to have a visual indicator to invite people to touch the Jello. Jello is an unusual interface so it’s not obvious that it should be touched
- Jello is my identity now
I envisioned an interactive installation where I project colors onto huge gelatin hemispheres, with the gelatin arranged on a playful acrylic base similar to DJELLO. When users touch the gelatin they would trigger sounds and animations. I was also inspired by my classmate Josh Sun’s midterm project.
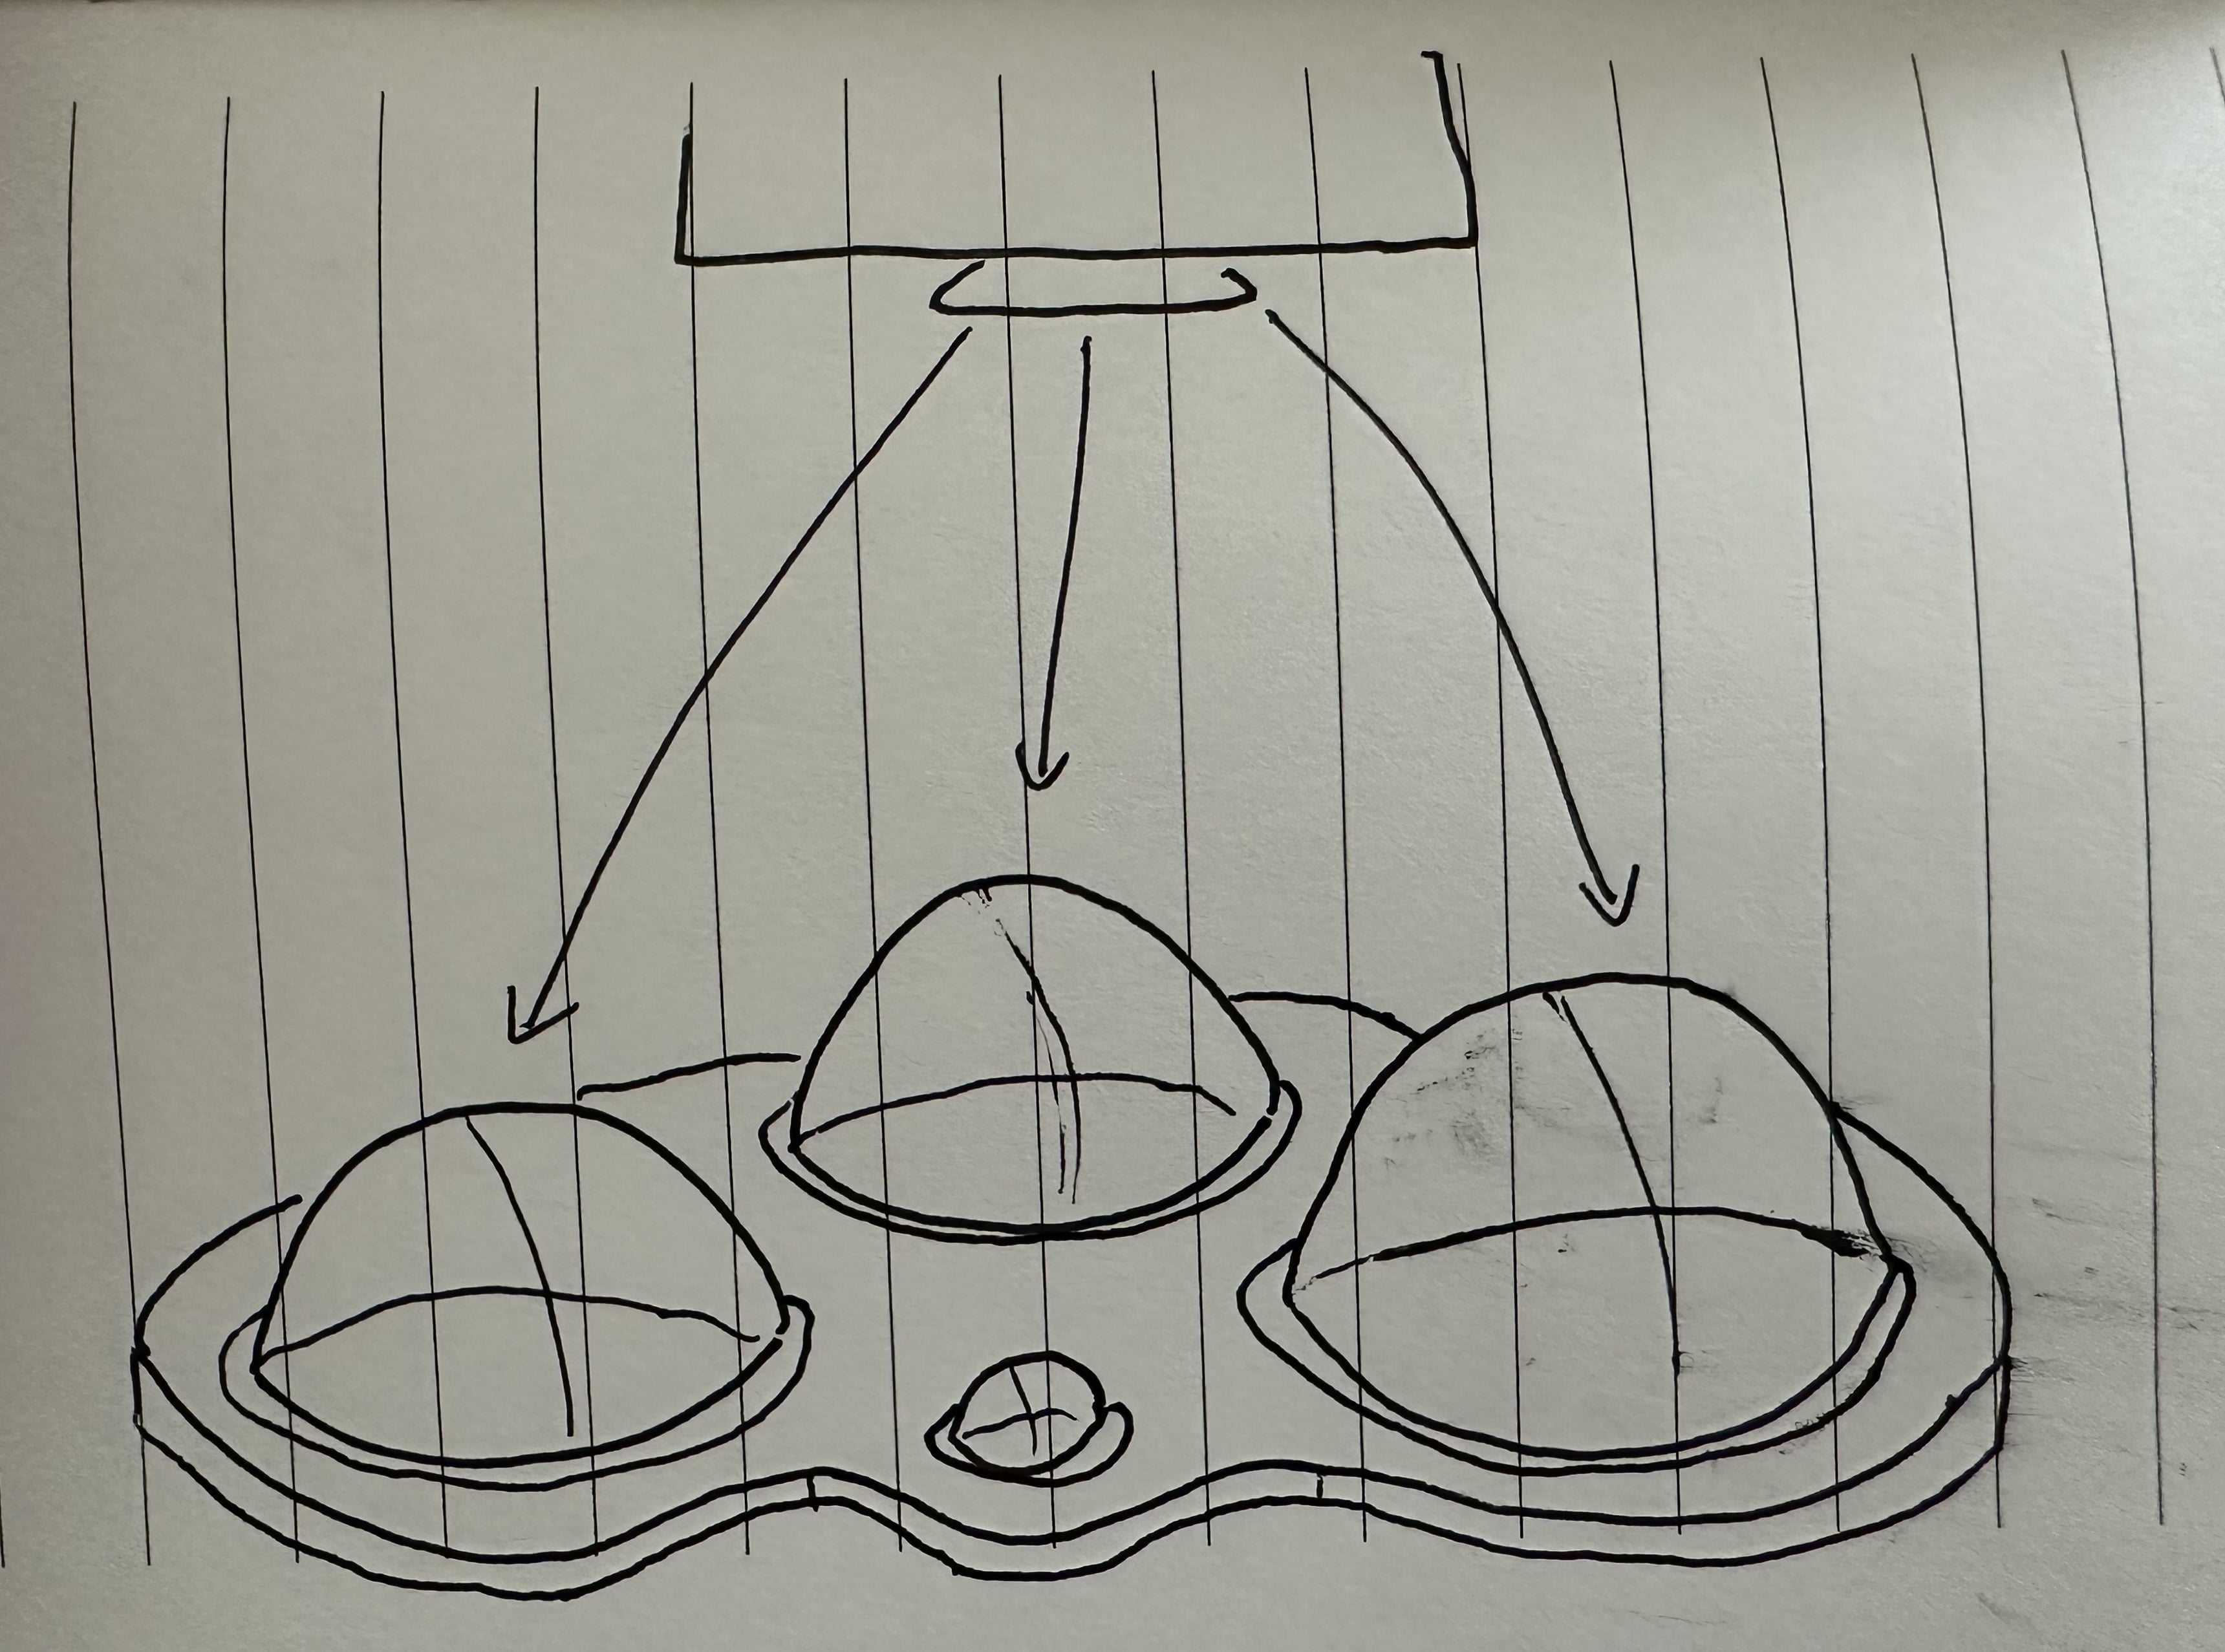 [My initial sketch of VJELLO, with 4 gelatin hemispheres]
Experimentation
My first step in prototyping this installation was to see if projecting onto a large Jello surface was even possible. Maybe it would be too translucent to see anything, or maybe the rounded shape would cause too much distortion. Maybe a huge gelatin hemisphere wouldn’t solidify or would melt under the projector’s heat.
I did some math to calculate how much gelatin to use for one hemisphere. This was a brief yet slightly terrifying throwback to high school calculus class with trying to calculate the liquid volume of a container. But this math didn’t need to be 100% precise because gelatin is pretty forgiving. I assumed that my 7in silicone mold was a perfect half sphere, meaning its volume can be found by
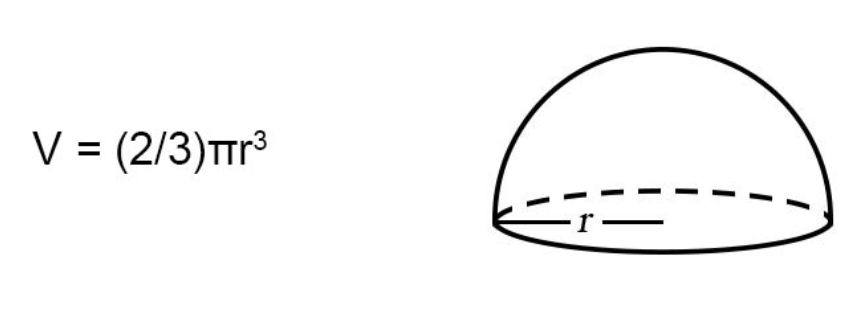 [Formula for the volume of a hemisphere]
With r=3.5in, V=89.8 cubic inches, or about 6 fluid cups that can fit in the silicone mold. I’ve found that a ratio of 1 cup water to 1 oz gelatin works well. To avoid overfilling, I used a recipe of 5 cups of water and 5 oz of gelatin per hemisphere.
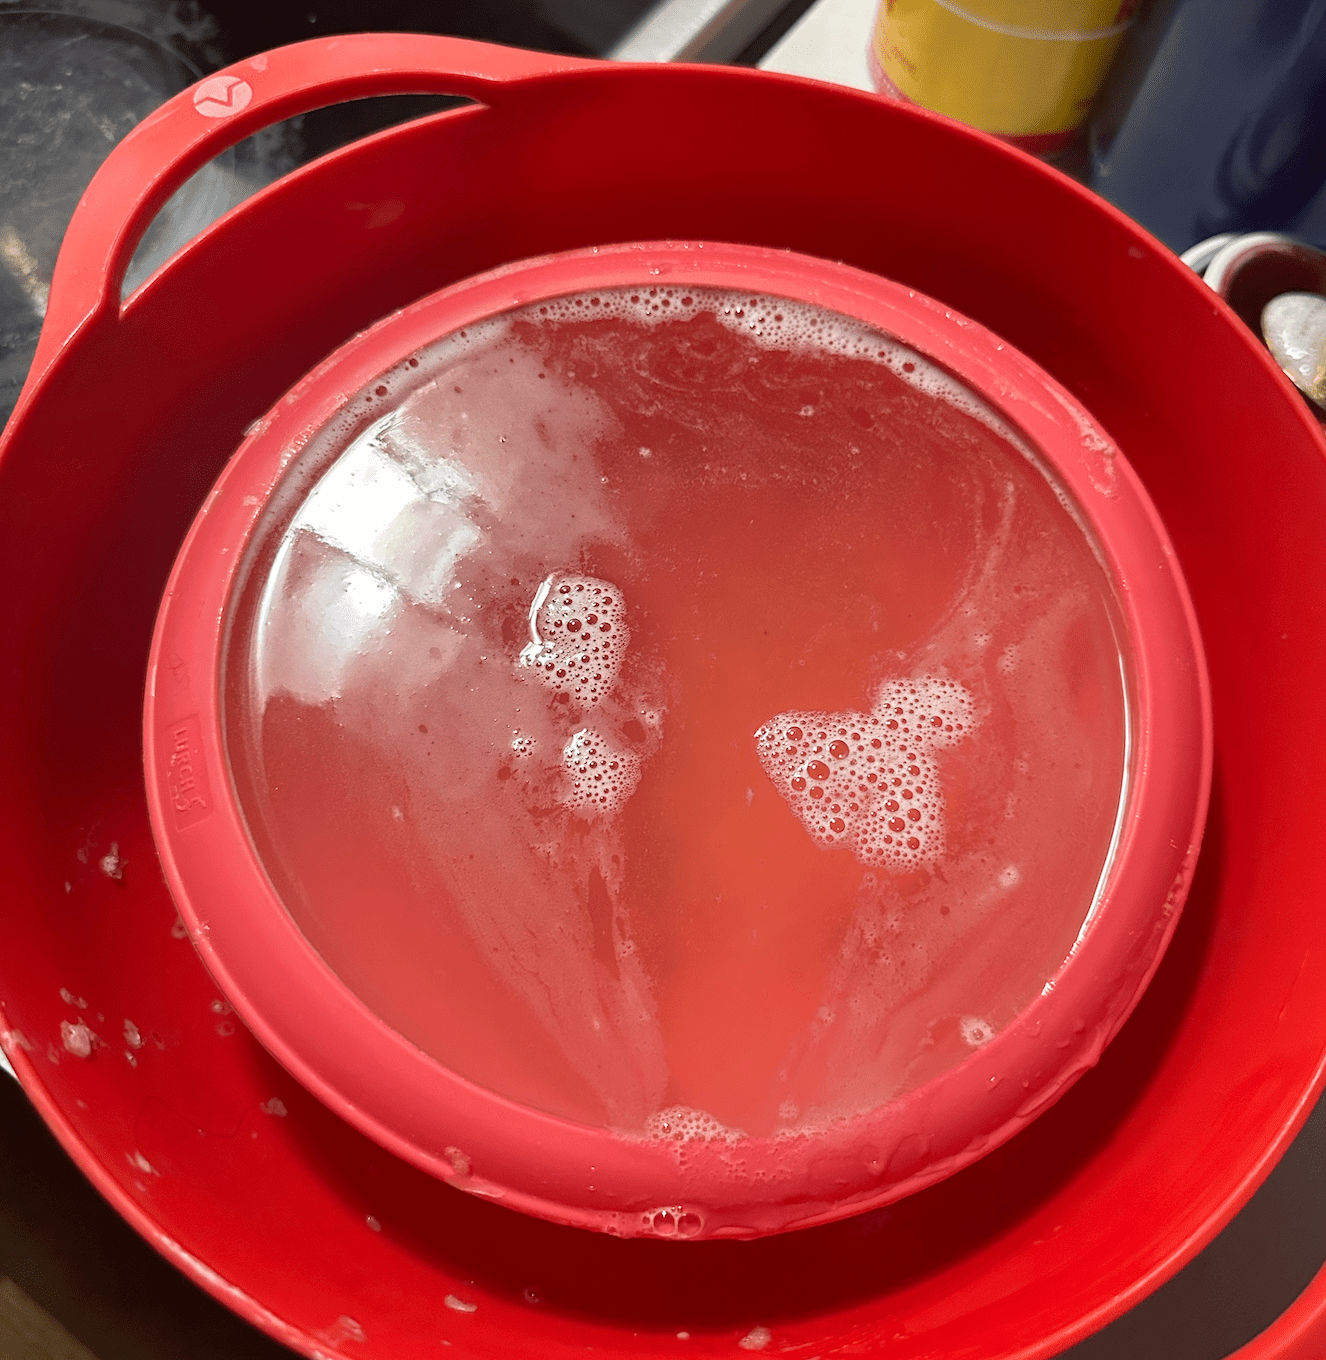 [Silicone mold full of unsolidified gelatin]
This experiment couldn’t have gone better! The gelatin hardened and slid out of the mold easily. I used MadMapper to map a colorful pattern onto the gelatin hemisphere and it was perfectly clear even in a well-lit room. It looks like magic.
[A rainbow projection onto my massive gelatin hemisphere!]
Interaction
With my proof of concept completed, I moved onto creating the projection content. I had a few interactions in mind
- A nice start state, where all lights are off except for a pulsating gelatin button to invite touch
- After touching a Jello, a ripple should originate from its base to complement the material’s natural wiggle
- Touching the start button should trigger a smooth transition to all Jello hemispheres beginning to glow
- Touching a large Jello should trigger a pulse and bounce animation while the user is maintaining contact
I made these animations in Adobe After Effects. I’m by no means a motion graphics expert, but it was pretty straightforward to animate some circles to achieve these effects. I exported each animation as a black and white video so I could overlay bright colors with MadMapper.
 [After Effects Jello animations to project with MadMapper]
The most challenging part of this project was learning how to trigger these animations in MadMapper based on capacitive touch values from the Arduino. I already had DJELLO code to generate MIDI commands from Jello touches, so I wanted to stick with that approach. There may have been easier ways, but I made it work.
I wrote code (here) to generate a lot of MIDI control change (CC) commands with arbitrary numbers. In MadMapper I made those arbitrary CC numbers map to properties like “start button pulse animation is paused” or “left Jello’s touch ring visibility.”
When the code triggers a MIDI command with one of those CC numbers and contains a binary value, MadMapper updates the corresponding property based on the value: 0 = false and 1 = true. This was tedious and hacky, but it worked and gave my code a lot of control over MadMapper.
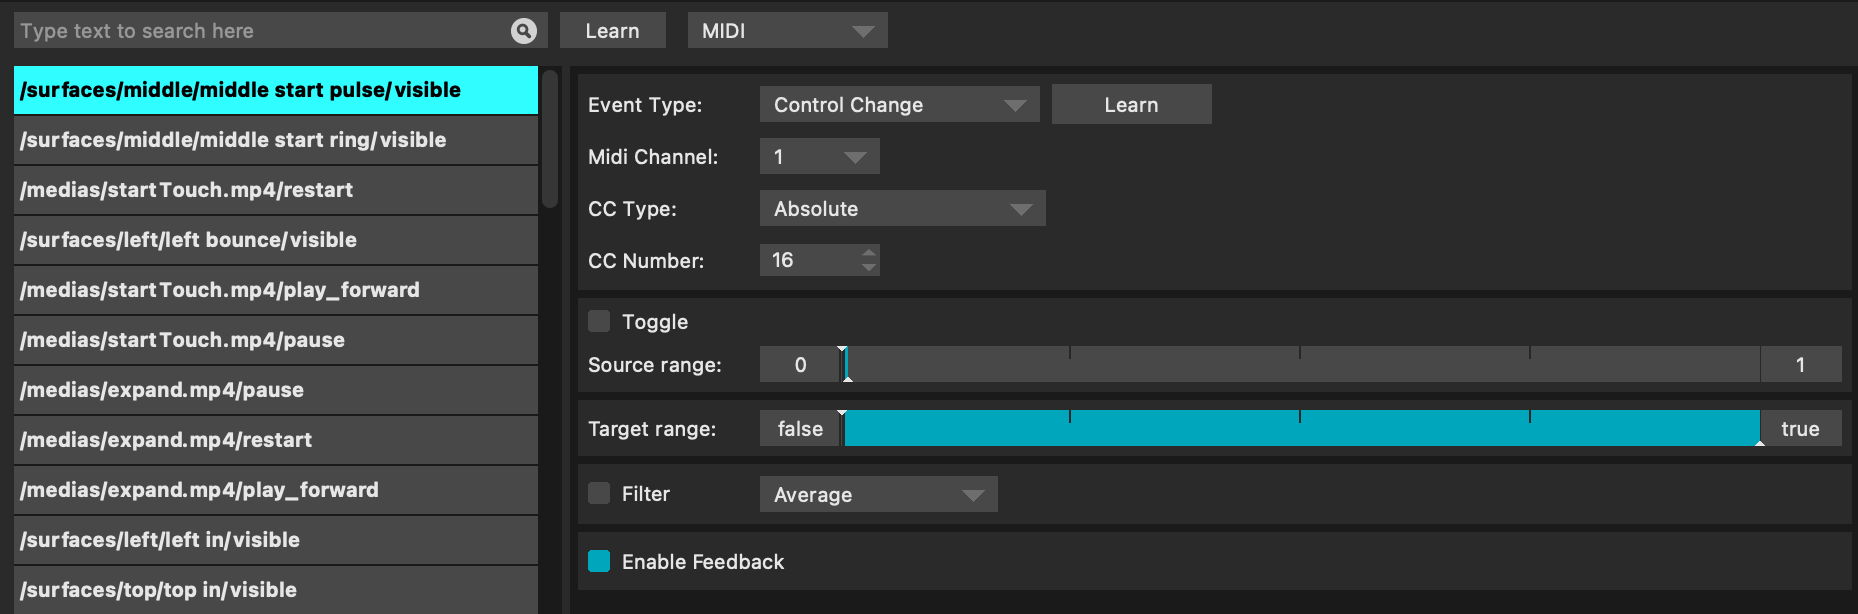 [Some of the MIDI commands I added in MadMapper. Here, I arbitrarily mapped 16 to control the start button’s visibility]
Finally I had an end-to-end flow of touch Jello, see projection animation!
[A bounce animation plays while I touch the Jello]
Once that piece of the puzzle was working, I focused on polish
- Minimizing delays between animations
- Ensuring multiple Jellos can be touched in parallel
- Triggering sound effects in Ableton via more MIDI commands
- Switching between color/musical chord combos via the smallest Jello button
- Neon colors = F minor (upbeat)
- Cool colors = D minor, 3rd octave (downbeat)
- Warm colors = A-C-E (I just wanted to be able to play Hot Cross Buns on this)
Final Demo
Setting up this installation is pretty easy. Mount projector overhead, place Jello on acrylic base under the projector, align circles in MadMapper.
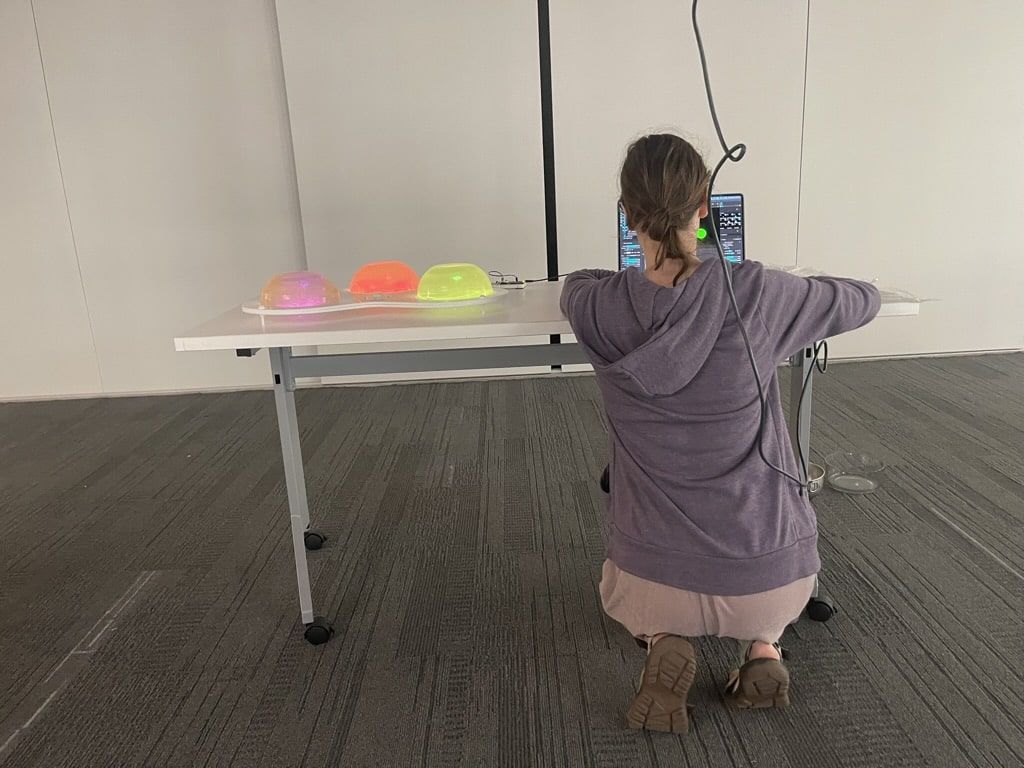 [Messing with the projection alignment during installation]
The feedback I received from my classmates and professor was overwhelmingly positive! Everyone jumped to play with the Jello and experimented with different kinds of touch. People came to understand that the colors contracted upon touch and rippled out upon release. They were also delighted when they discovered the middle button functionality to change colors/chords.
[My classmates interacting with VJELLO during critique]
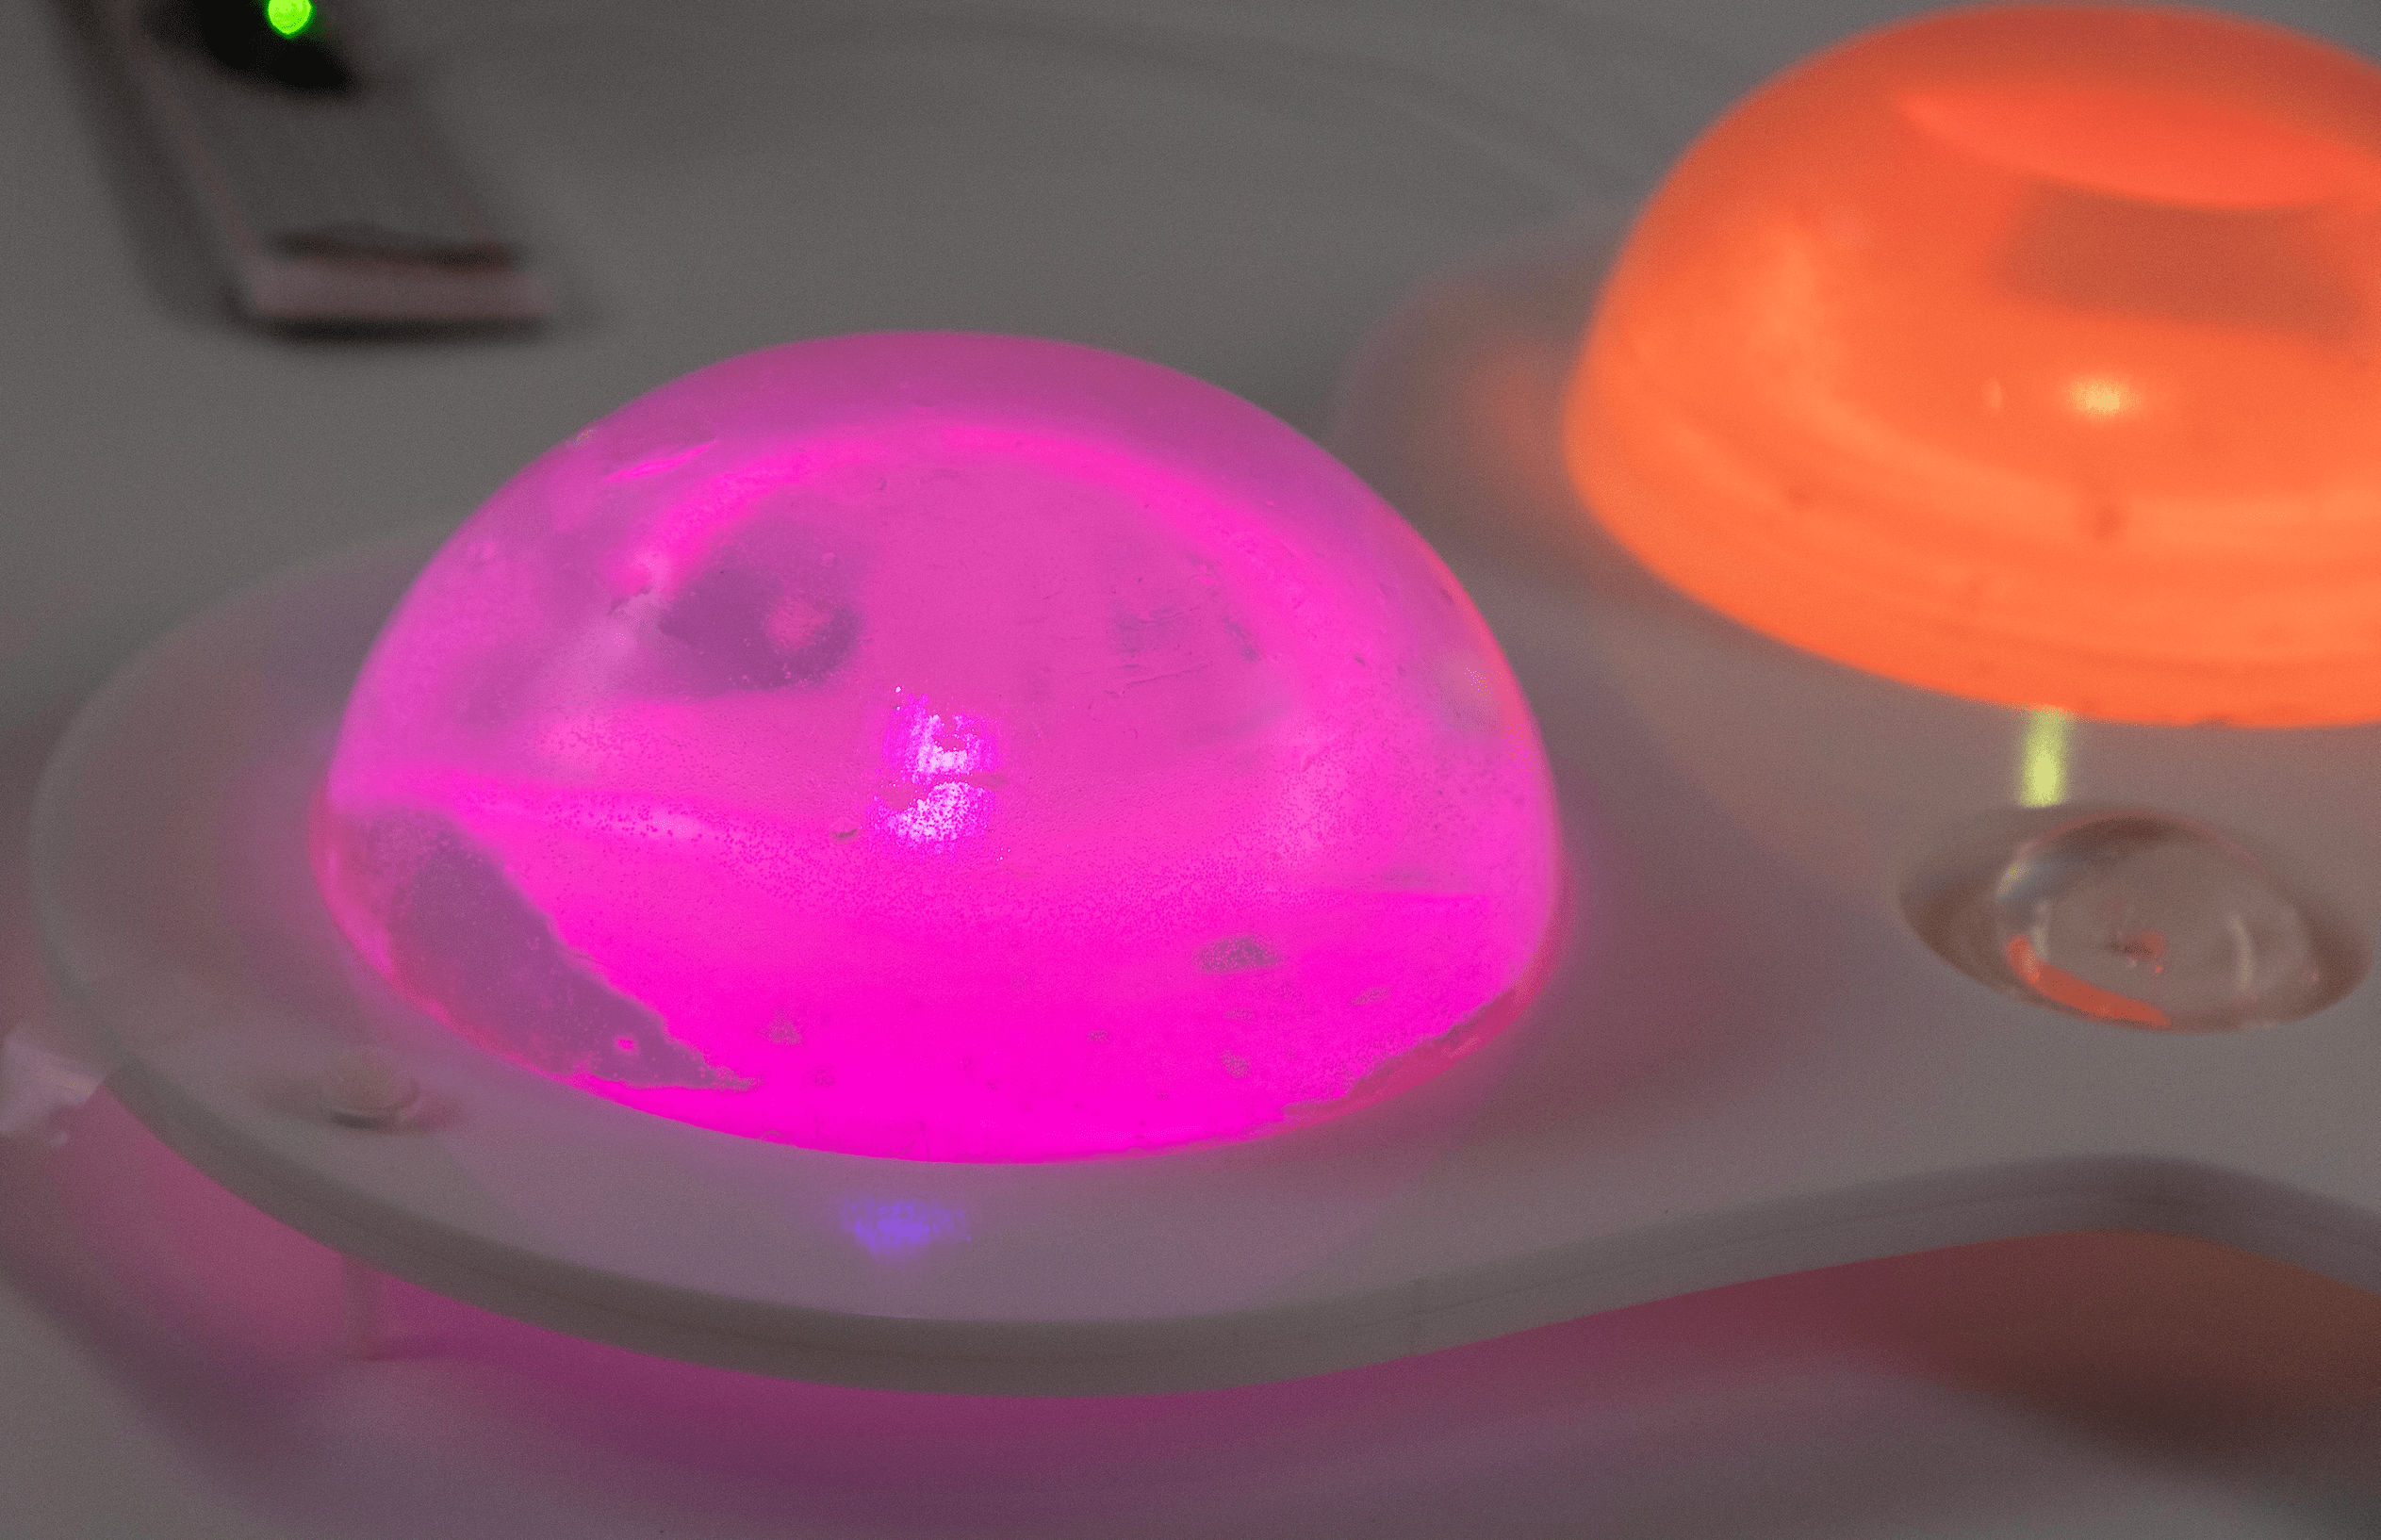
VJELLO has given me so many ideas for future Jello projects, now that I know I can make Jello hold shape at a larger scale and that it plays well with light. My gelatin hemispheres act like a sort of lens with the projector-- lots of possibilities there. See how the light pattern is hitting the surface but also passing through? In my Soft Robotics class we also learned about soft speakers, that need a membrane to vibrate to produce sound...
 [Jello hemisphere doing some trippy stuff to light]
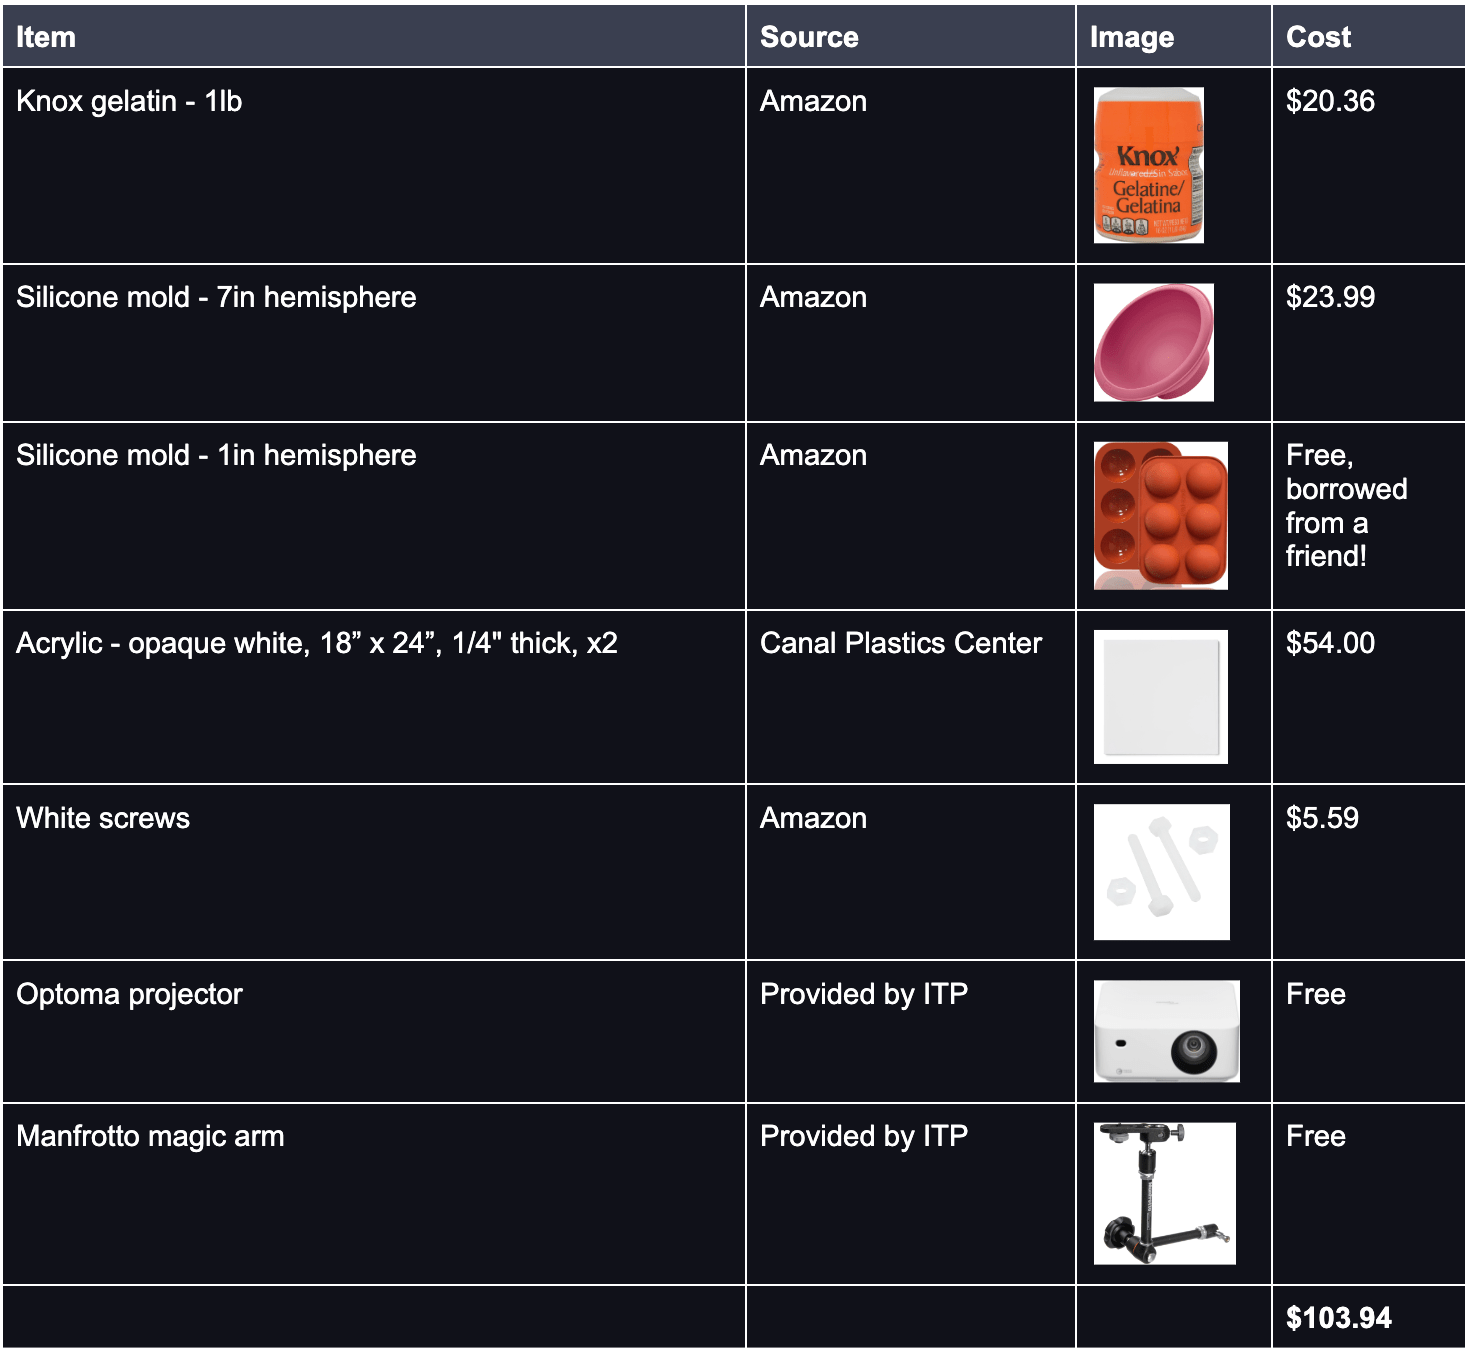
Bill of Materials
Thankfully many of the materials for this installation are one-time costs, like the silicone molds and acrylic for the base. However, I’ll go through a TON of gelatin every time I want to show this installation, so it’s best to buy in bulk.