
I'm halfway through my first semester of grad school at NYU's Interactive Telecommunications Program! So far my favorite class has been Physical Computing, where I've been using an Arduino Nano 33 IOT microcontroller to build systems that interact with the physical world. Since my background is in programming, it's been exciting to get user input from potentiometers (knobs), force sensing resistors, and flex sensors rather than a keyboard and mouse. Here's an overview of some physical computing projects I've worked on in the past 7 weeks.
Low Beer Light
My first Physical Computing homework assignment was to design and build a custom switch. A switch was defined as "nothing more than a mechanism to bring two pieces of conductive material together and separate them." The switch had to control some output like turning on/off an LED light. I decided to build a "low beer light", inspired by my Dad who often says that his low beer light is on after a long day at work.
I wanted to have a light turn on when a 6-pack of beer became empty. The tricky part here is that I wanted the light to turn on when something (a beer) was removed from the system. We usually think of switches as being off by default, and turning on when something (i.e. force) is added. I needed a way for the circuit to be open (conductive materials not touching) when the 6-pack had a can, and closed (conductive materials touching) when the can was removed.
I solved this with a spring platform covered in tinfoil, since aluminum is conductive. When there is a beer compressing the springs, the circuit is open. When the beer is removed, the springs expand and lift the tinfoil platform surface towards a strip of copper tape. When the tinfoil surface and copper tape touch, the circuit is closed and the LED lights. The tinfoil, copper tape, and LED were all wired on a breadboard. No code needed. You can read more about this project's design process here, on my class blog.
Red LED in the top right corner of the 6-pack turns on/off when I move the Red Bull beer can
Mario Kart Servo Control
Another fun project was exploring how to control a servo motor with an analog input. In my case, this input was a force sensing resistor (FSR), which changes value relative to how hard you squeeze on its surface. Servo motors can only rotate 180 degrees, and they aren't very accurate. But that's good enough to be able to play Mario Kart on a Nintendo Switch! I strapped a Switch joycon controller to the servo motor head with two elastic hair ties. The servo was wired to my Arduino and received input generated from the FSR. Zero pressure on the FSR meant turn left, and full pressure meant turn right. It was pretty hard to drive in a straight line with this form of input, but I was still able to hold my own in a race against AI players.
A setup like this could have accessibility benefits, helping someone with a more limited range of motion control a game controller. Another fun idea would be to write a program that controls the player entirely without human input. I could pre-program a series of turns that navigate a track. This would be useful for hacking Mario Kart time trials, or a particularly twisty track like Rainbow Road!
Mario Kart servo control demo
Ghost/Spine Experience
For my midterm project, I worked with a partner to create an audio/visual experience controlled by the angle of a participant's spine. We designed a wearable device in the form of a belt that tracked whether the user was standing up straight or bending over to touch their toes. This sensor reading was transmitted via serial communication to TouchDesigner, a visual development platform, where it allowed the user to hunt for a ghost on a busy city street.
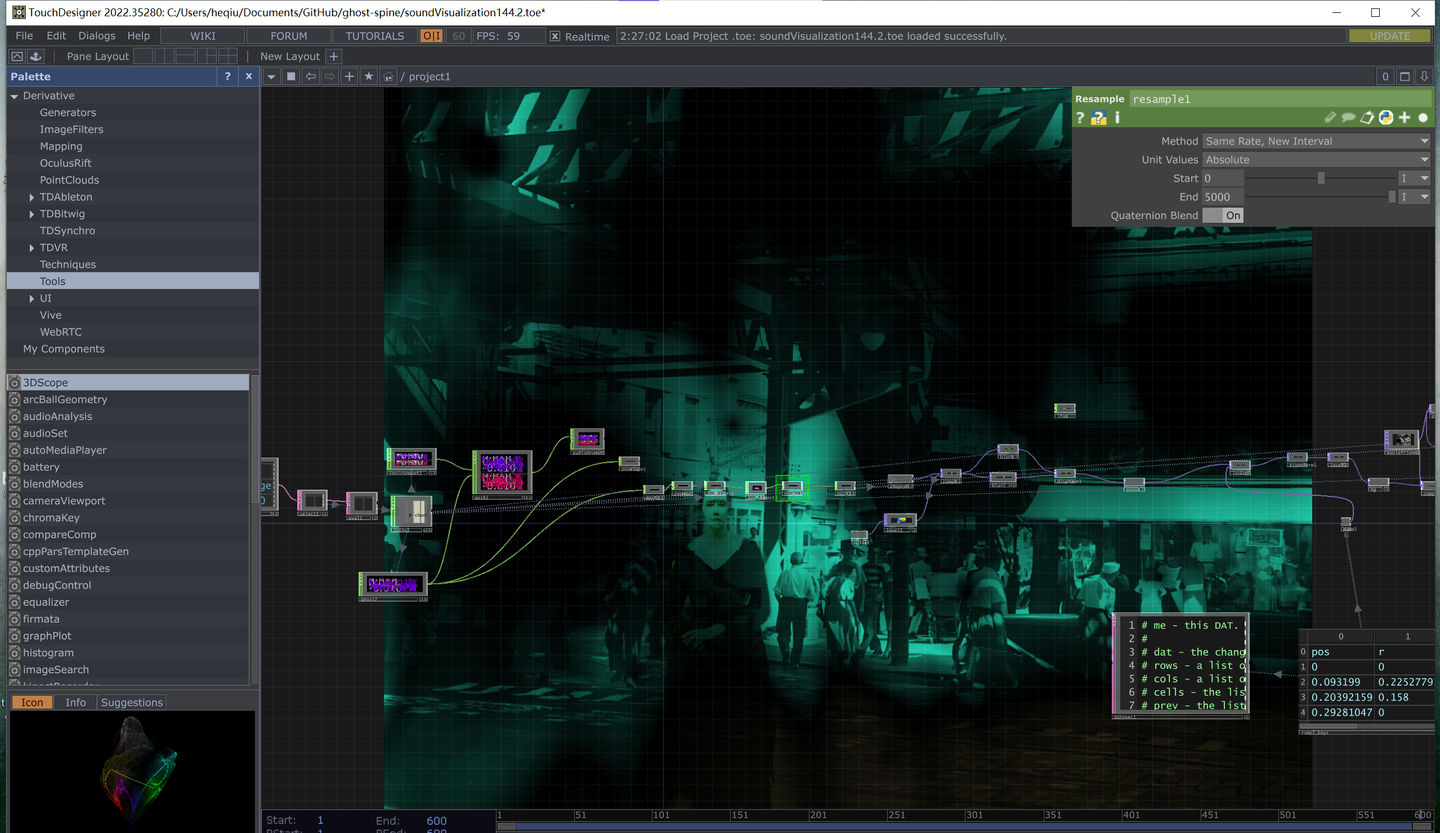 The TouchDesigner node-based UI
When the experience started and the user was standing up straight, they saw a video of a crowded street and heard noises from a city environment. As they bent over, the video distorted to reveal a ghost standing on the street, and the noises warped to reveal a whispered message from the ghost. See for yourself:
Midterm wearable demo video of TouchDesigner output
We went through several iterations of designs for our wearable device but settled on using the Arduino's built-in gyroscope to sense when the user bent their spine. The code is here. To see more about our previous designs, check out my class blog.
 The back of the wearable device that held the Arduino
Arduino + p5 Sketches
The most recent project I've worked on in Physical Computing involved sending data between Arduino and other programs on my computer through serial communication. I got a taste of this while working on my midterm project, but was able to explore this further in our weekly lab assignments. I sent analog input values from my microcontroller to creative coding sketches made with p5.js, a Javascript graphics library that I've used in the past.
Normally in p5 you use the computer's mouse/trackpad coordinates to make your work interactive. In this example I instead controlled the position of circles drawn to the canvas via a potentiometer and an FSR. Turning the potentiometer affected position on the x-axis, and putting pressure on the FSR affected the y-axis. I was able to make some fun sketches with this setup!
 p5.js sketches controlled via physical Arduino inputs
Next I adapted one of my existing p5 projects to use physical inputs in lieu of a mouse and keyboard. A few months ago I made Threadbare, a geometric drawing tool that responds to the user's mouse moving over rows of threads. I copied this code and made a few tweaks to replace mouse coordinates with two potentiometer values read from serial. It was surprisingly easy to get this working!
 Adjusting two potentiometers to simulate mouse x and y coordinates