DJELLO
Oct-Dec '23
Made with: Ableton Live, Adobe Illustrator, Arduino, C++, MIDI

Video Demo
Concept
While brainstorming for a previous project, I learned that jello is conductive due to its water content. I became determined to design a jello user interface for my Introduction to Physical Computing final project. Keeping in theme with the squishiness of jello, I wanted to generate sounds that matched its texture.
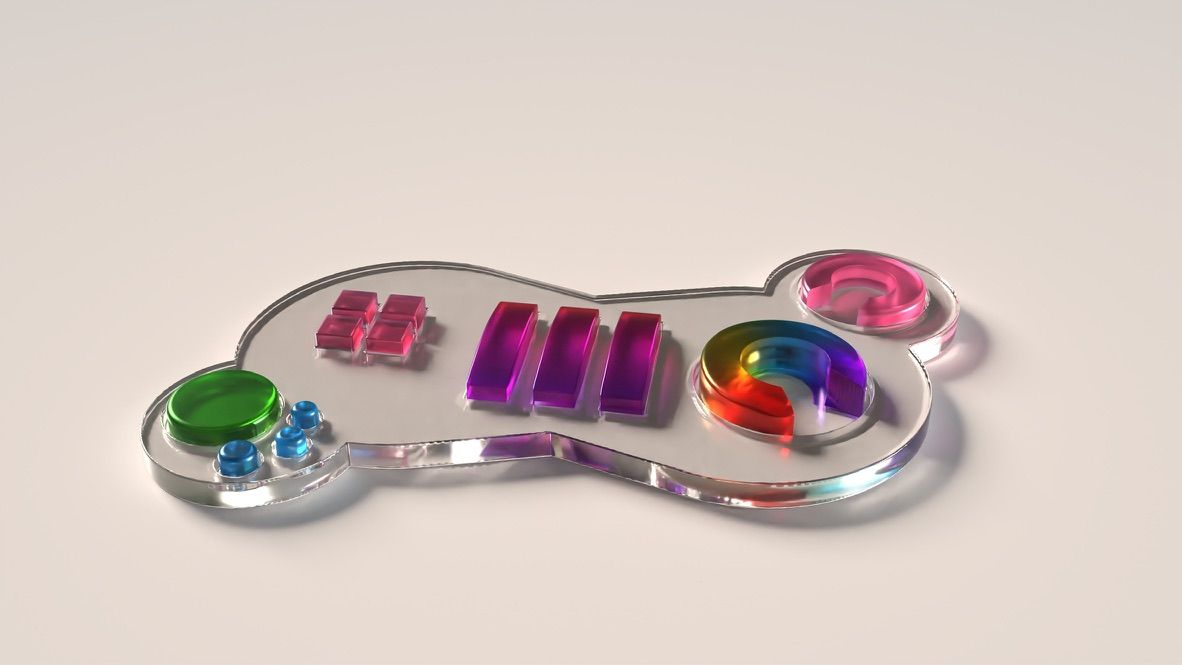
This is a 3D render of my initial concept, modeled with Womp 3D. This helped communicate my idea to my classmates and helped me to envision the layout and aesthetic.
Research
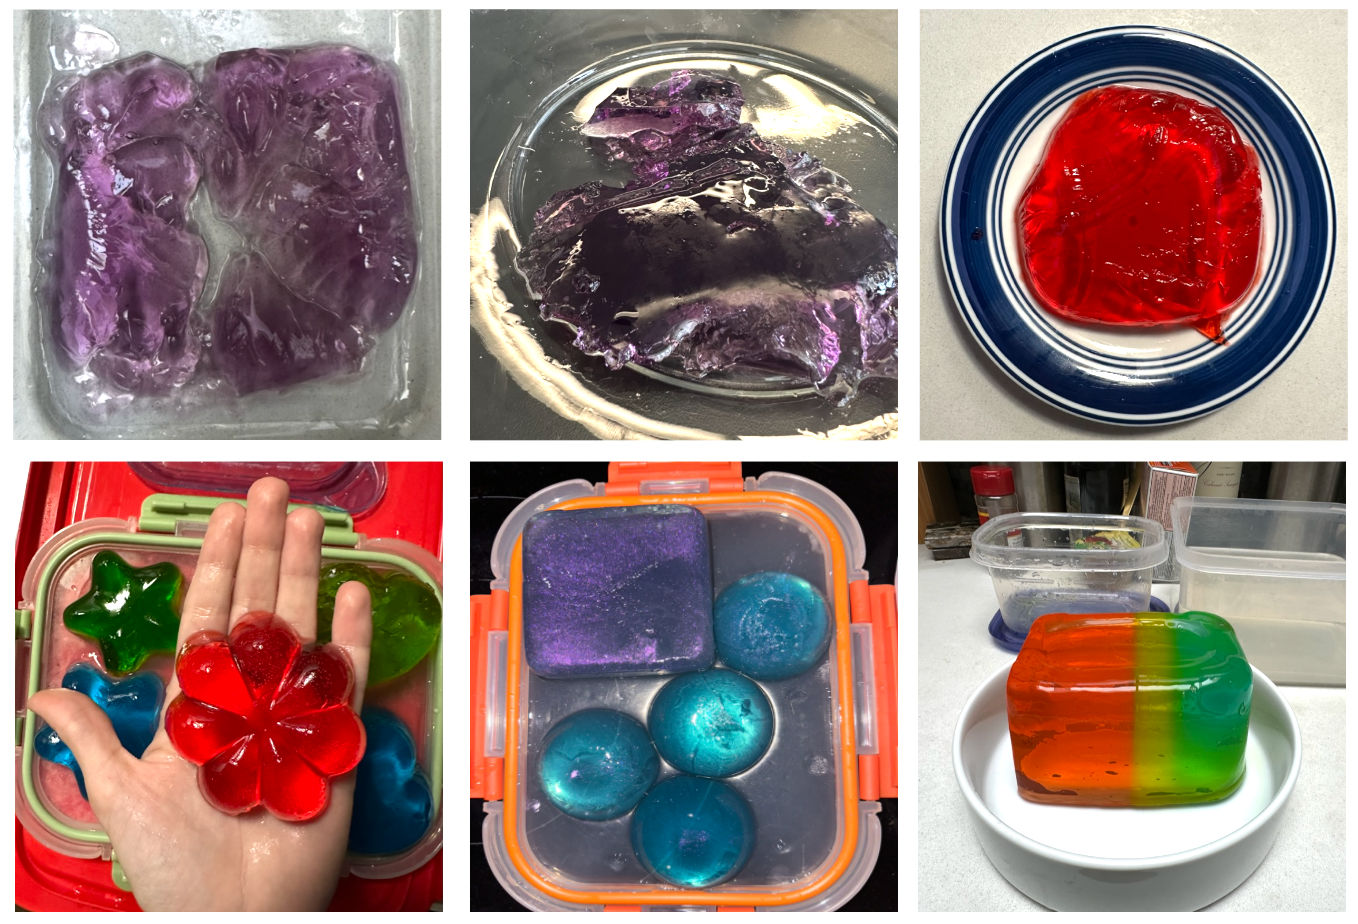
By research I mean me, in my kitchen, experimenting with jello recipes through trial and error. Having a solid enough texture to pick up and manipulate is critical. I gathered advice online from 50s housewives, mommy bloggers, and ballistic experts.
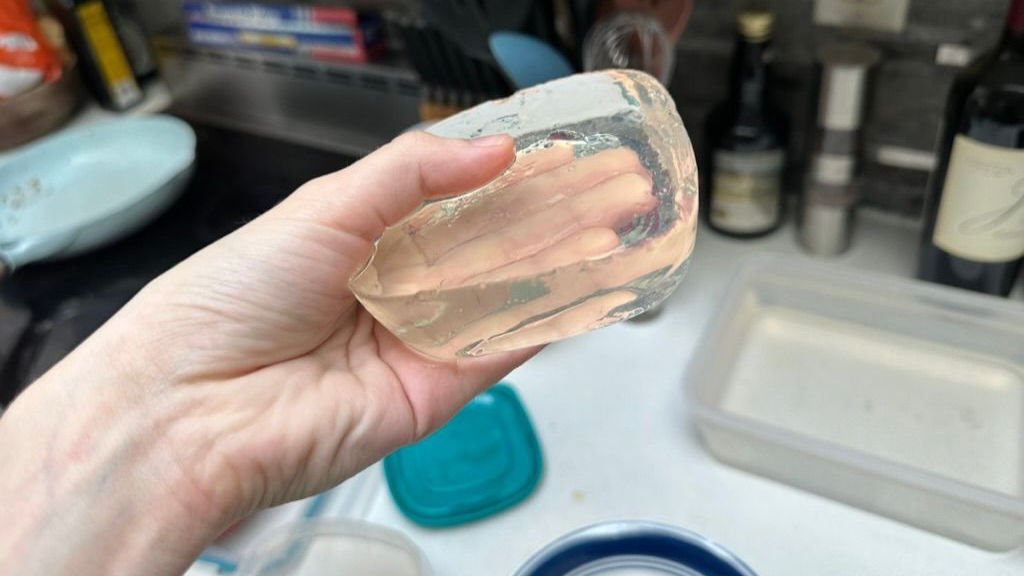
The keys were "blooming" the gelatin while mixing + soaking molds in hot water to release the solidified shape.
Recipe
- Buy Knox unflavored gelatin
- Boil ~1/4 cup water per gelatin packet
- Pour 1/4 cup cold water per gelatin packet into bowl
- “Bloom” it- sprinkle dry gelatin powder over cold water
- Scrape bloomed gelatin into hot water
- Stir well
- Pour into molds
- Leave overnight
- Soak molds in hot water to remove jello
Prototypes
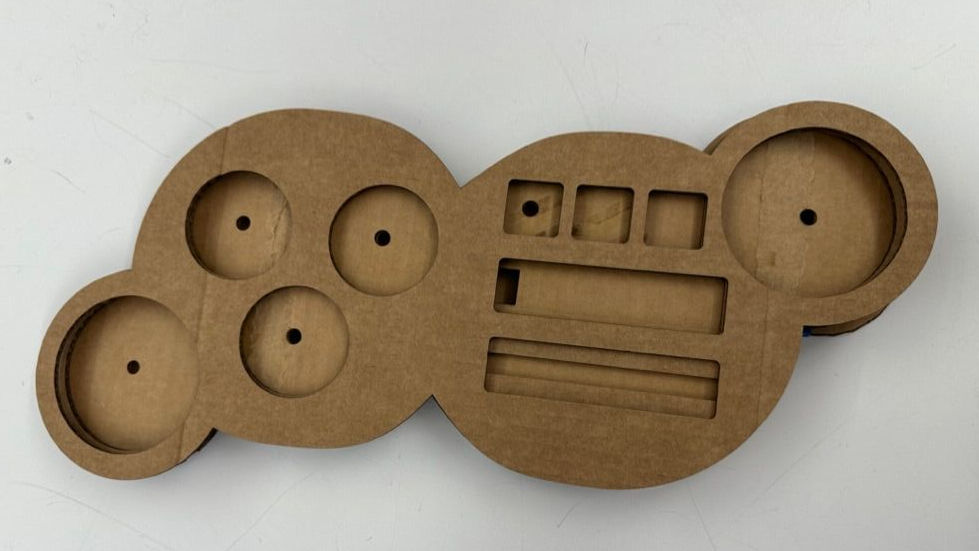
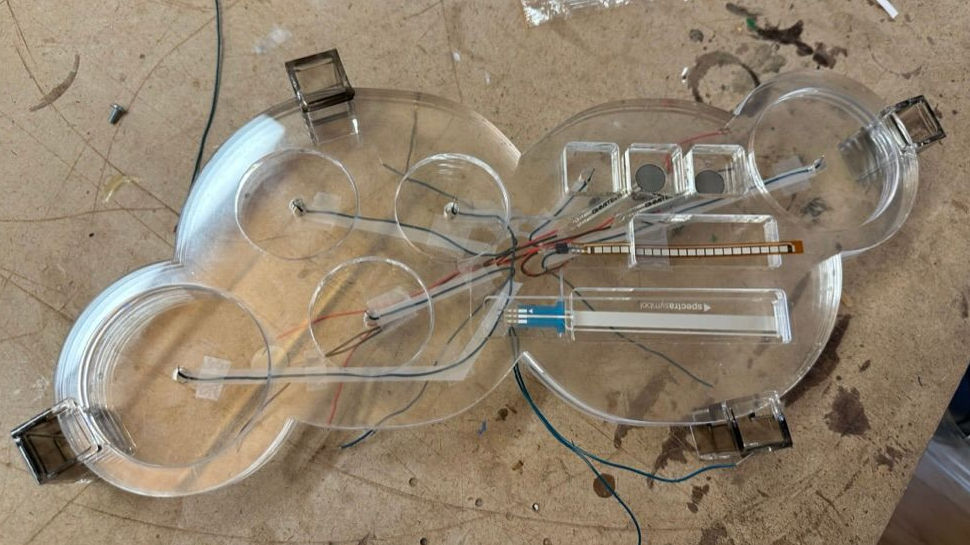
I used Adobe Illustrator to design a layered structure for the acrylic base. Each layer has different cutouts to hold jello, sensors, and wires. All of the wires exit through a hole in the bottom layer, to plug into an Arduino attached via velcro to the base's underside.
I laser-cut my first prototype out of cardboard to visualize the sensor layout. The next was laser-cut 1/4" clear acrylic.
Software
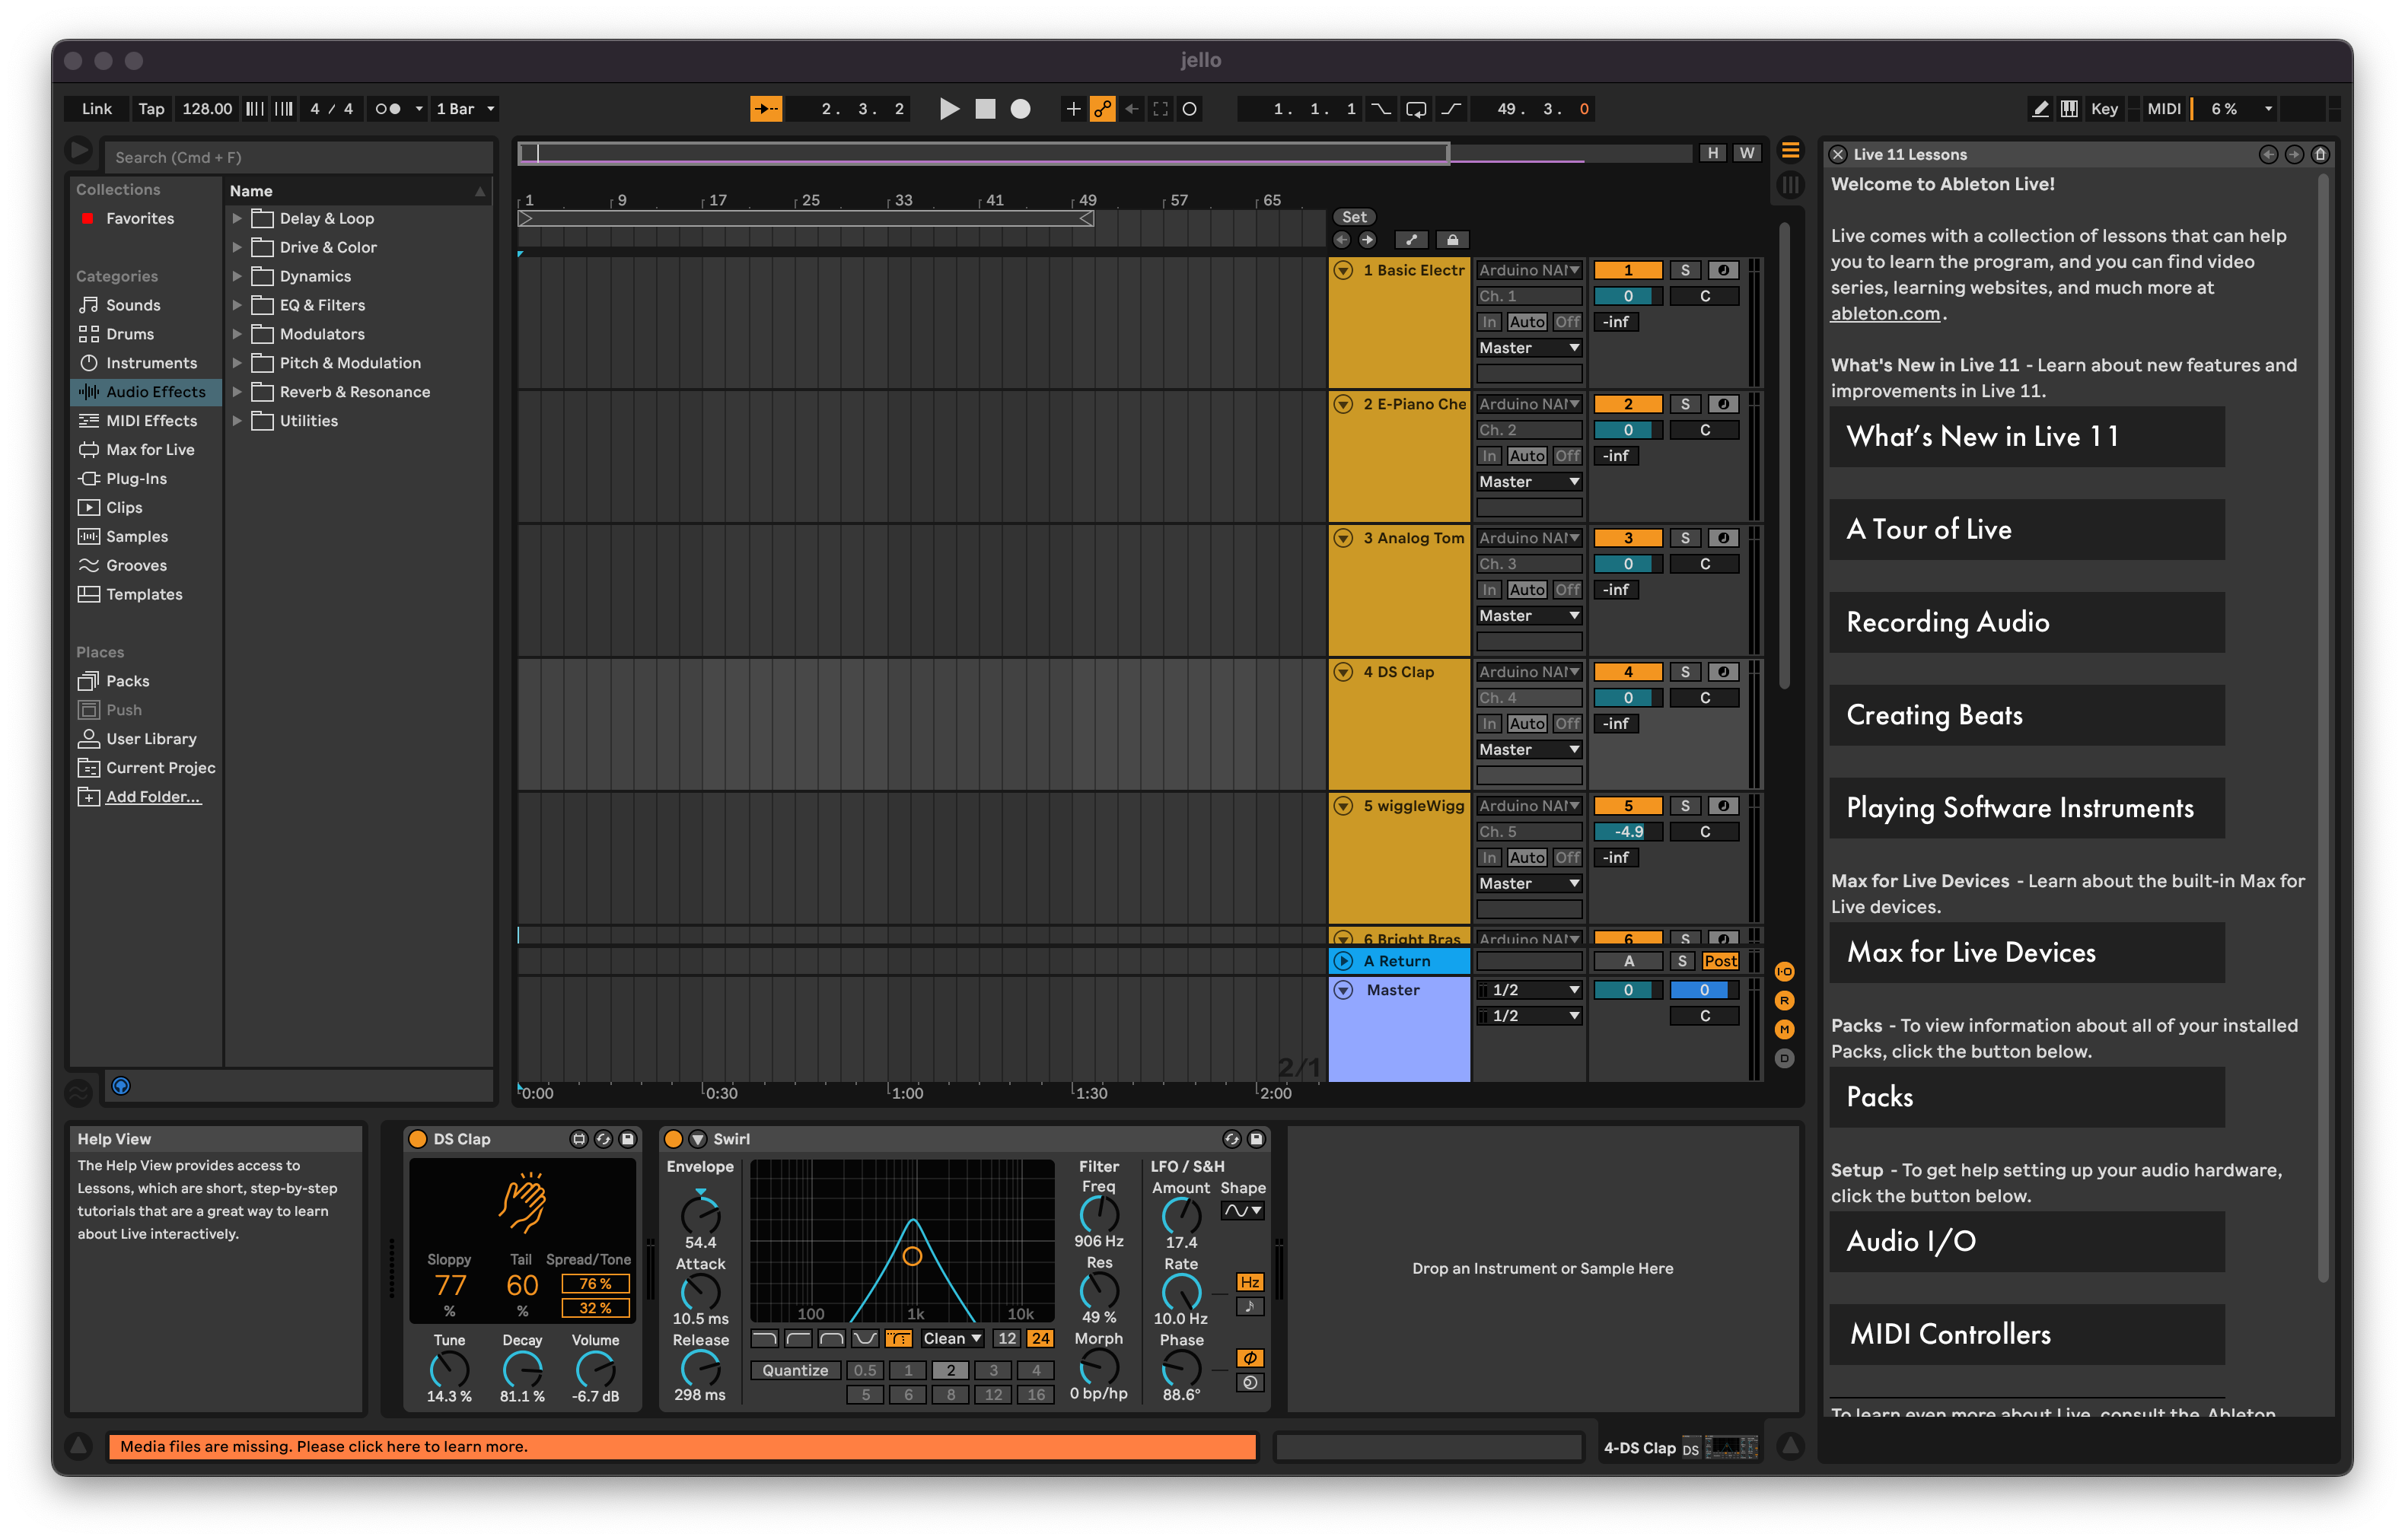
The software was the easy part for me. I wrote an Arduino script to read input from the various sensors, and made those sensors trigger MIDI commands, such as "play a middle-C note on channel 5". I set up Ableton Live, music-making software, to read these MIDI commands and turn them into squishy sounds.
I asked some of my classmates with more musical backgrounds for advice on what my controls should do. Most controls play a single note, but some more "advanced" ones play ranges of notes or apply filters.
Finished Product
After learning from my prototypes, I assembled the final version. Some changes from the earlier versions:
- White acrylic instead of clear, to hide the internal wiring
- Conductive copper tape instead of normal wires, to fit flat between acrylic layers
- Updated design for the bendy flex sensor control
- Tighter fitting legs for the base

Skills Learned
- This was my first time using a laser cutter. Aside from learning how to design cut templates with Adobe Illustrator, I learned how to use some advanced controls like manually adjusting the height of the bed.
- What MIDI is and how it works
- Ableton Live basics, basic music-making skills
- Iterating on user interface design
Challenges
- Arranging the wires inside of the acrylic layers. Normal wires are thick enough that they can't sit flat between two hard layers of acrylic, creating a gap
- Fabricating the base legs. I had to individually laser cut faces on a hollow rectangular tube
- Finding specific MIDI command codes for Ableton
- Designing an intuitive control using a flex sensor